VICIdial setup, start to first call: server, carrier, agents
VICIdial setup with no install to run: order a server, add a SIP carrier, create a campaign, load leads, add agents and take the first call.

To the point
VICIdial setup usually starts with an install: ViciBox from its ISO, or a scratch install on another Linux, and then admin.php for everything else. On a Trustane server there is no install to run. From an empty account to the first call is six steps in the console:
- Order a server: pick where it runs and its size. We build VICIdial on it.
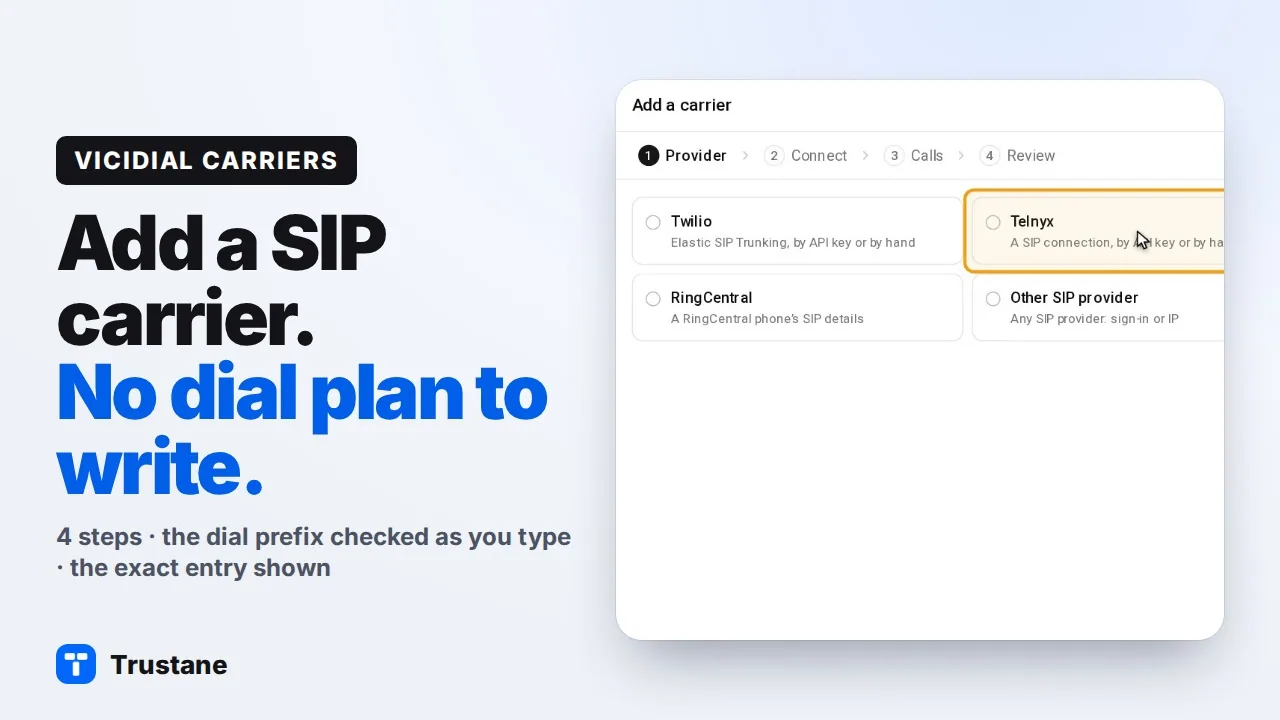
- Add a carrier: 4 steps, no dial plan to write.
- Create a campaign: pick one of seven kinds, in 5 steps.
- Load leads: through VICIdial's own lead API.
- Add agents: one or a hundred, with a login card each.
- Take the first call: agents sign in, and the calls start.
Plays from YouTube when you press Play. Google's privacy policy applies.
Each step links to its own guide. The pictures come from our demo account, with made-up names and addresses.
1. Order a server
Open Order, then pick:
- VPS or Dedicated cores.
- A location: the one closest to the numbers you call.
- A size. Each size shows its hourly price, the most it costs in a month, and about how long the build takes.
Then Place order. We build the server and put VICIdial on it, and its VICIdial logins appear in the console a few minutes later. VICIdial pricing lists every size, and how many calls one server carried in our load test helps you pick one.
Already have a VICIdial server? Connect it to the console instead.
2. Add a carrier
The carrier is the phone line VICIdial dials out on and takes calls from. Open the server, then Carriers, then Add carrier:
- Provider: pick Twilio, Telnyx, RingCentral or another SIP provider.
- Connect: the SIP server, then a username and password, or your server's IP instead.
- Calls: a dial prefix, checked on the server as you type.
- Review: the exact carrier entry and dial plan VICIdial gets.
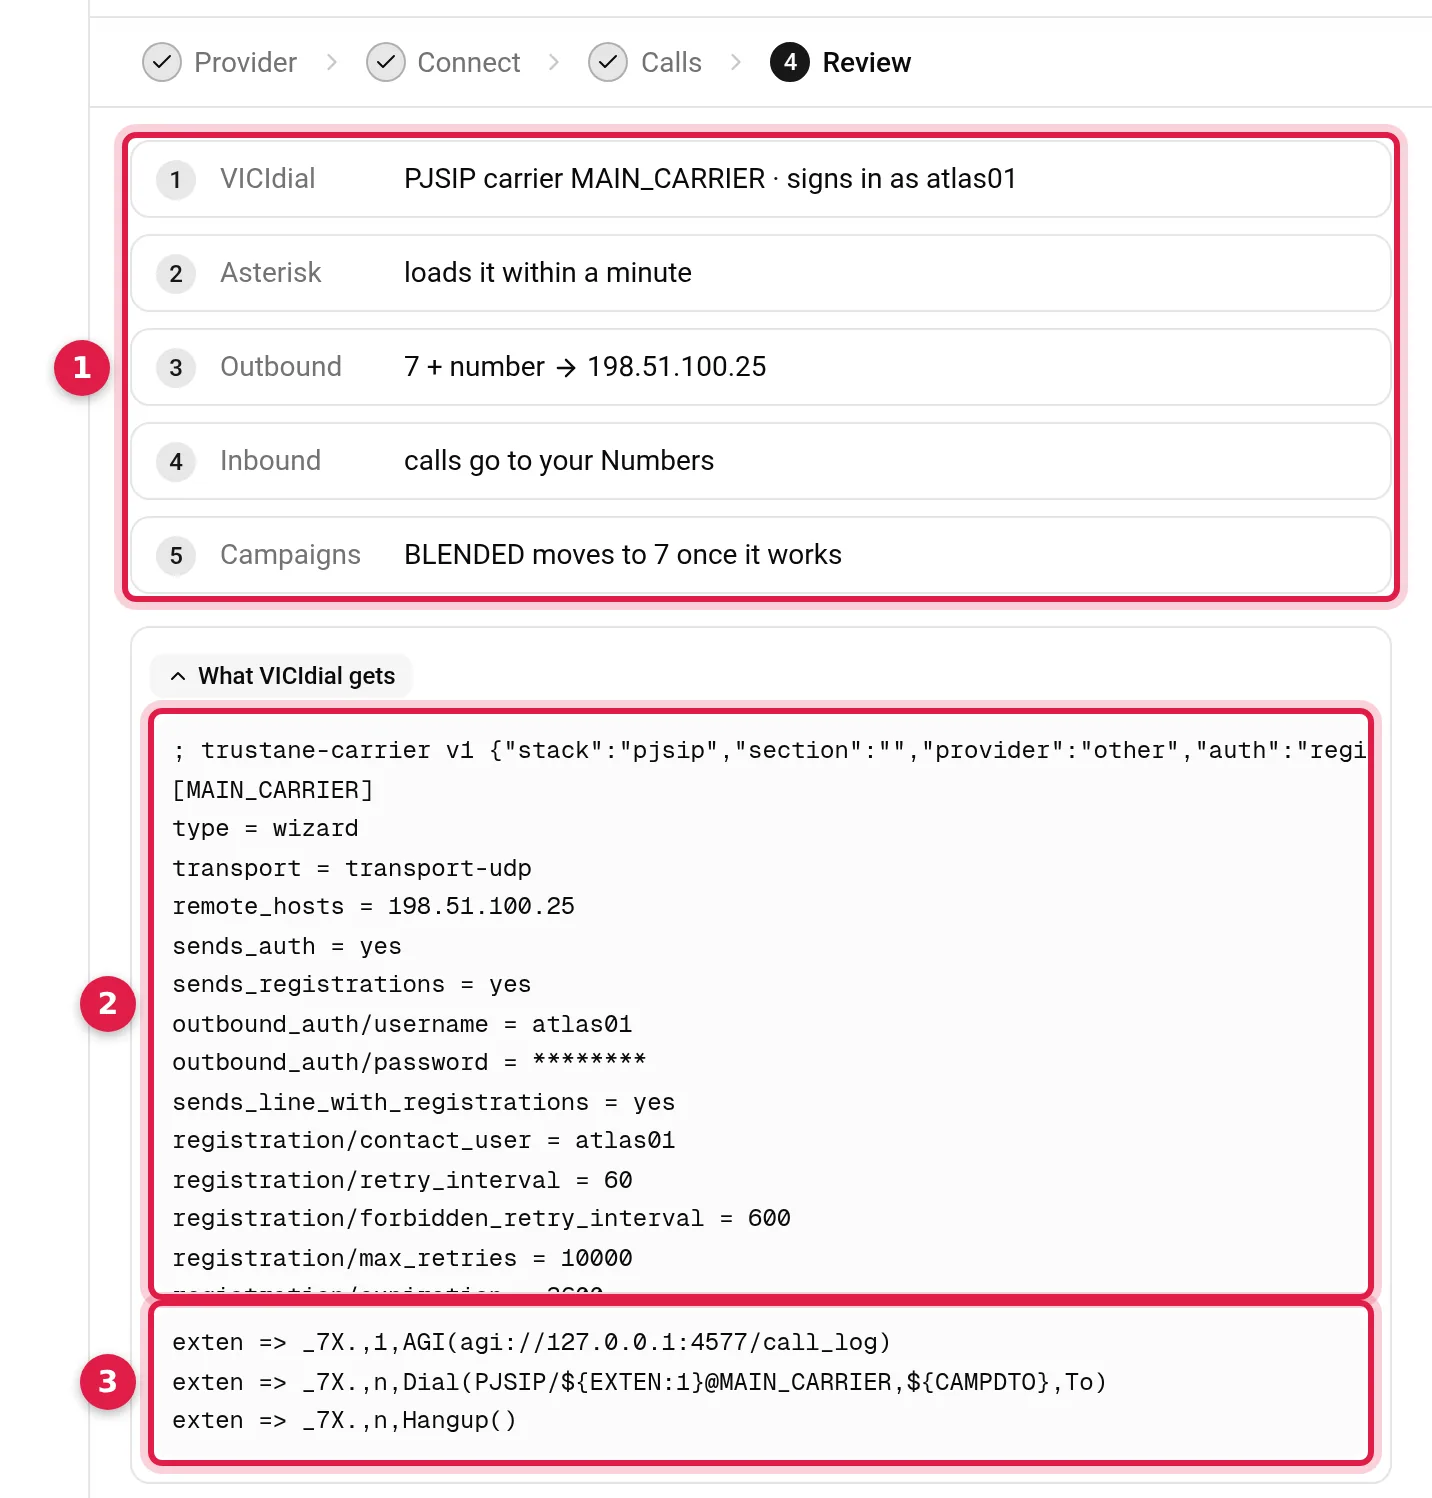
Asterisk loads the new carrier in about a minute. VICIdial carrier setup: add a SIP trunk in 4 steps walks through each step.
3. Create a campaign
Open Campaigns, then New campaign. The page has 5 steps: What kind, Basics, How it behaves, Leads and Review.
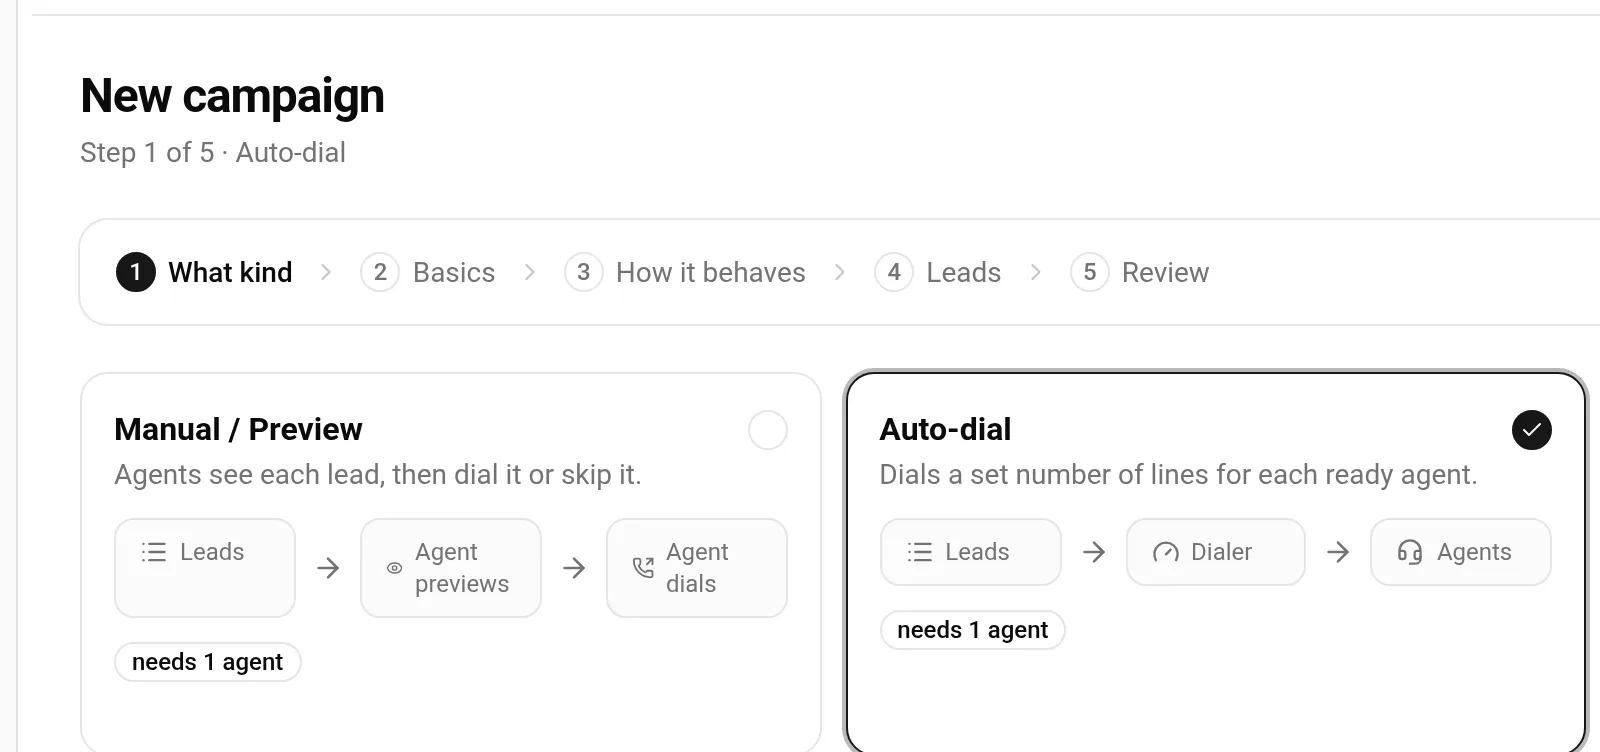
Seven kinds, each with how many agents it needs:
| Kind | What it does | Needs |
|---|---|---|
| Manual / Preview | Agents see each lead, then dial it or skip it | 1 agent |
| Auto-dial | Dials a set number of lines for each ready agent | 1 agent |
| Predictive | Paces itself toward a 3% dropped-call target | 3 agents |
| Inbound | Agents take the calls that come in to your queues | 1 agent |
| Blended | The same agents take queue calls and outbound calls | 1 agent |
| Broadcast | Plays a recorded message to every answered call | no agents |
| Press-1 / Survey | Plays a message, and a key press puts the caller through | no agents |
Basics asks for the name, the campaign ID (checked against the server's as you type) and the caller ID. Set a caller ID people can call back: left blank, calls show 0000000000, and the page warns you. Press-1 has a guide of its own.
After Create, Ready to dial? checks three things: leads, agents and caller ID.
4. Load leads
From Ready to dial?, Load leads opens the list the campaign made. The loader puts each lead in through VICIdial's own lead API, so VICIdial's own code checks duplicates, your do-not-call lists and area codes, and sets each lead's time zone. You get a result to read and a file of the rows it refused.
5. Add agents
Open People, then Add many: agents by a list, or by a series of numbers. Each agent gets a login card: where to sign in, the phone login and its password, the user and its password. Add 100 VICIdial agents at once shows the whole sheet.
Their phones work in about a minute.
6. The first call
Each agent signs in at the address on their card, with the phone login and the user on it, and picks the campaign. An auto-dial campaign then dials the leads for its ready agents; on a Manual one, each agent dials. An inbound campaign sends agents the calls from the queues they take at sign-in.
On a plain install, for comparison
The same path starts with installing VICIdial and its database, then a server, a carrier, a campaign, a list, users and phones, each one a form in admin.php. A carrier there means writing its account entry and its dial plan entry by hand. If you install it yourself, ViciBox 12 after install and the install traps we hit on Ubuntu 24.04 cover what to check.
Questions people ask
Do I have to install VICIdial?
Not on a server you order here: we build it. On your own hardware, you install it, and you can connect it to the console afterwards.
Can I still use admin.php?
Yes. It is VICIdial's own admin screen, and it stays on your server. The console sits beside it.
How long does setup take?
The build shows its time on the order page. The rest is the six steps above; a carrier loads in about a minute, and agents' phones work in about a minute.
Next steps
- VICIdial carrier setup: add a SIP trunk in 4 steps.
- Add 100 VICIdial agents at once and assign in-groups to agents.
- Order a server.
VICIdial is a trademark of its owner. Trustane is an independent hosting provider. Twilio, Telnyx and RingCentral are trademarks of their respective owners. Trustane is not affiliated with them.
Sources
- Trustane console, ordering a server
- Trustane console, the Add a carrier wizard
- Trustane console, the New campaign page and its Ready to dial checklist
- Trustane console, the list loader (VICIdial's own lead API)
- Trustane console, adding agents and their login cards
- Trustane console, the login cards
Managed VICIdial hosting